Building and erecting Grey Teal nest boxes
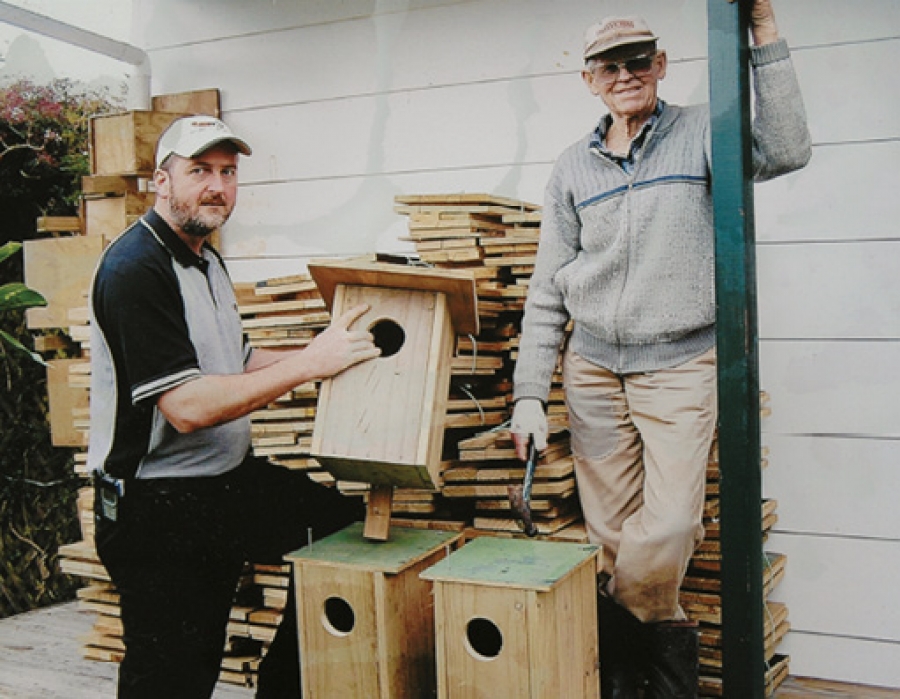 Box work: Chris Bindon left, and Henning Hovmand (deceased) making Grey Teal boxes in 2006.
These nest box instructions were first used in an early Flight, and have proved very effective since then. So for the handy men and women among our members here is a new occupation for you over the summer months.
Introduction
Since its inception in New Zealand, Ducks Unlimited has been advocating the provision of nest boxes as a way of increasing the number of Grey Teal in the country. This project known as “Operation Gretel”, was the first project undertaken by DU in New Zealand and has already seen over 900 nest boxes erected in different parts of the country.
As Grey Teal are usually hole nesters, there is a common belief that their numbers in New Zealand are limited by a shortage of nest sites, compared with Australia. Therefore, the provision of artificial nest sites, in the form of boxes, is a potentially powerful management technique for increasing both the number and range of Grey Teal. Probably the most successful example of this is the management of Carolina Wood Duck in North America, however, nest boxes are also used successfully for the management of other species in both North America and Europe. The attached plans cover the construction, mounting and servicing of two different designs of Grey Teal nest box. The front entry box is the type most widely used, however, the alternative side entry may be preferred by some people as it is possibly more weather and predator proof. Its main disadvantages are the extra material, and hence cost, required to build it, and its more complicated fabrication.
The plans for both designs are based on the use of 2400mm x 1200mm sheets of 9mm plywood which is suitably treated for exterior use. For each design there is a cutting plan, to ensure the correct number of components are cut from each sheet, while minimising waste, and an assembly diagram, to illustrate correct overlaps. Thicker plywood may be used for a longer life, however, this will entail some dimesional alterations. Suggestions for mounting each box type are also included.
Construction
The dimesions on the cutting plans are all in millimetres, and are finished sizes. This means that most of the waste shown around the edges of the sheets will be consumed by the thickness of the saw blade multiplied by the number of cuts made. One sheet of plywood will yield enough components to build six front entry boxes or four side entry boxes.
Galvanised flat head nails, or non-corroding screws, should be used to assemble the boxes and for added strength, lengths of 20mm square timber can be used in the corners of the boxes. This will provide something more substantial for the nails and screws to hold onto and will help prevent the ply splitting when nailing or screwing into the edge of a component. To minimise the amount of reinforcing timber needed, it should be used along the top and bottom edges of the two sides on the front entry box, while on the side entry box it should be placed vertically along both edges of the front, and on the back, where the sides join. In both cases allowances will have to be made for the recessed bottom.
The entry hole of the front entry box should be 90-95mm in diameter as anything bigger could allow larger waterfowl to enter the box and evict the Grey Teal. The centre of the hole should be on the cenreline of the front, about 90mm from the top edge. A strip of chicken wirenetting must also be fixed on the inside of the front, from the bottom edge of the entry hole to the bottom of the box. This allows the ducklings to climb out of the box once the female decides to lead them away.
The side entry box is not as deep as the front entry box so it is easier for the ducklings to escape. However, because plywood has a smooth finish to it, a strip of wirenetting should also be fixed on the inside of these boxes as well.
On the assembly diagrams, the boxes are shown with the lids removed. The dashed detail shows the suggested lid overlap of the box’s four sides, which will help keep the box weatherproof. When fitting the lid, which has to be removable, short lengths of the 20mm square timber can be fixed to its underside to fit tightly inside the four vertical sides of the box. The lid can then be be weighted down with something heavy, or be secured with screws.
The bottom of both box designs are fully recessed and holes may be drilled through them to allow the drainage of any water which does manage to get in. If required, the side entry box can be assembled with either a left or right entry be simply rotating the back and swapping the two sides.
Mounting
Boxes should be securely mounted on a pole, with the bottom about 1m above water level. If necessary, allow sufficient clearance for the pond’s water level to rise during floods. Poles should be driven into the bottom of the pond, in open water, clear of overhanging vegetation as weed mats and overhanging branches give predators access to the boxes. At the same time, it is beneficial to locate the boxes in the lee of tall vegetation to provide them with shelter. Boxes can be erected in lines or small groups, however they should not be close than 4-5m as neighbouring birds can provide sufficient disturbance to lead to nest desertion. As a result, two boxes cannot be erected back to back on the same pole.
Boxes can be mounted by simply nailing or screwing them to the pole permanently, however, there are advantages to be gained from mounting boxes in a way that will allow them to be easily removed for servicing. The use of half round poles will also give a flat surface to mount the box on to. Mounts can be made out of 50 x 50mm tanilised timber, such as fence battens. For the front entry box a 230mm length of timber should be fastened within 10mm of the top edge of the back and should be drilled with two vertical holes to carry locating pins. On the pole a second 230mm length of timber should be fastened with its top edge 50mm below the top of the post. This should also be drilled with two vertical holes corresponding to those on the box mounting, however, they should remain blind. A short block should be fastened further down the post with its top edge 340mm below the top of the post. The box can then be mounted by resting it on the top post mounting and dropping long nails through the extended back of the block.
The side entry box can be mounted in a similar way, however, the mounts should be 260mm long and only extend across the back of the main nest box, not the side entry. A different bottom mount will also be needed. Instead of a block, a further 260mm mount should be fastened to the box close to the bottom edge of the back. A second mount should be fitted to the post in such a position that the top box mount fits over the top post mount while the bottom box mount fits tightly under the bottom post mount. Both the top and bottom mounts can then be secured using simple locating pins, as on the front entry box, yet these still allow the box to be easily removed from its post.
Servicing
Grey Teal begin prospecting for nest sites in late May and June, and eggs can be expected from July onwards, so long as water conditions are suitable. Nesting may also continue into December, or even as late as January or February in exceptional years. However, because waterfowl do not carry nesting material to their nesting site, the boxes must be furnished with suitable material, such as dry hay or straw, before nesting season.
Once Grey Teal have finished using the boxes it is usual for Starlings and Mynas to take them over, and as these birds do carry nesting material to their nest site it is common to find a box completely filled with dry grass once they have finished with it. Therefore, the boxes will need to be cleaned out and provisioned with fresh nest material each year. This is best done about May as the Starlings and Mynas should have finished nesting yet the Grey Teal would have started. An annual clean out will also reduce the risk of disease and parasite infestation for the Grey Teal. The bottom of the box should be covered with 50-75mm of nesting material, enough for the female to fashion it into a nest bowl without the eggs having to sit on the bottom of the box.
If all goes well, the boxes will start being used by Grey Teal as soon as they have been erected. However, if pinioned birds are present they will need to be given access to the boxes via a ramp. This can be made simply out of a piece of 100 x 25mm timber either covered with wirenetting, or having shallow cross cuts in it, for the birds to grip on to as they climb up to the box entrance. The ramp should extend down to water level, but remember this could give predators entry to the box as well.
Image Gallery


https://www.ducks.org.nz/flight-magazine/item/314-building-and-erecting-grey-teal-nest-boxes#sigProIdd7ae5d2d04